My First Snippet
Note: For instructions to update your Snippet from 1.0 to 2.0, see How to Upgrade from Snippets 1.0 to Snippets 2.0.
This tutorial is an introduction to Alkami’s Snippet template. A snippet is a lot like a widget; it is an MVC application that plugs into the base Alkami platform. The main difference between a snippet and a widget is that you view snippets within an existing widget as if it were the widget itself. The Snippet is registered in the Admin portal and then assigned to one or more existing widgets. A tab is placed at the top of the existing widget so you can go to the Snippet’s view. See the “Snippets Architecture” section. We recommend reading those pages in addition to completing this tutorial.
Alkami’s Snippet Template
Section titled “Alkami’s Snippet Template”-
In addition to the Alkami.SDK.Samples, use the following command to update Alkami.SDK.Templates to the latest version:
choco upgrade Alkami.SDK.Templates -y -
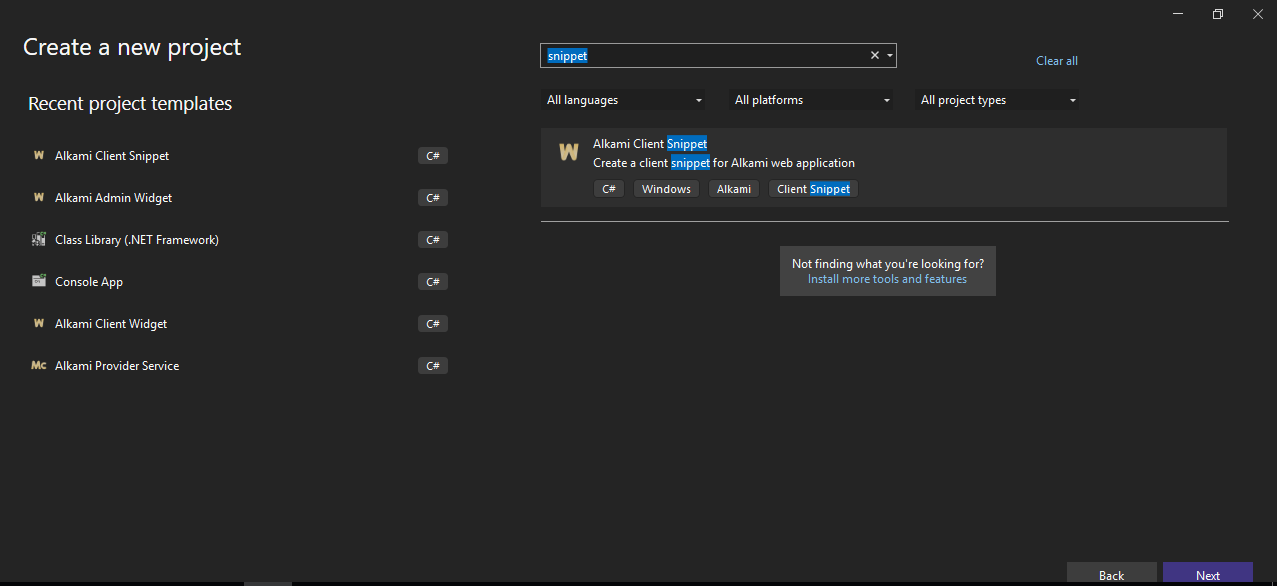
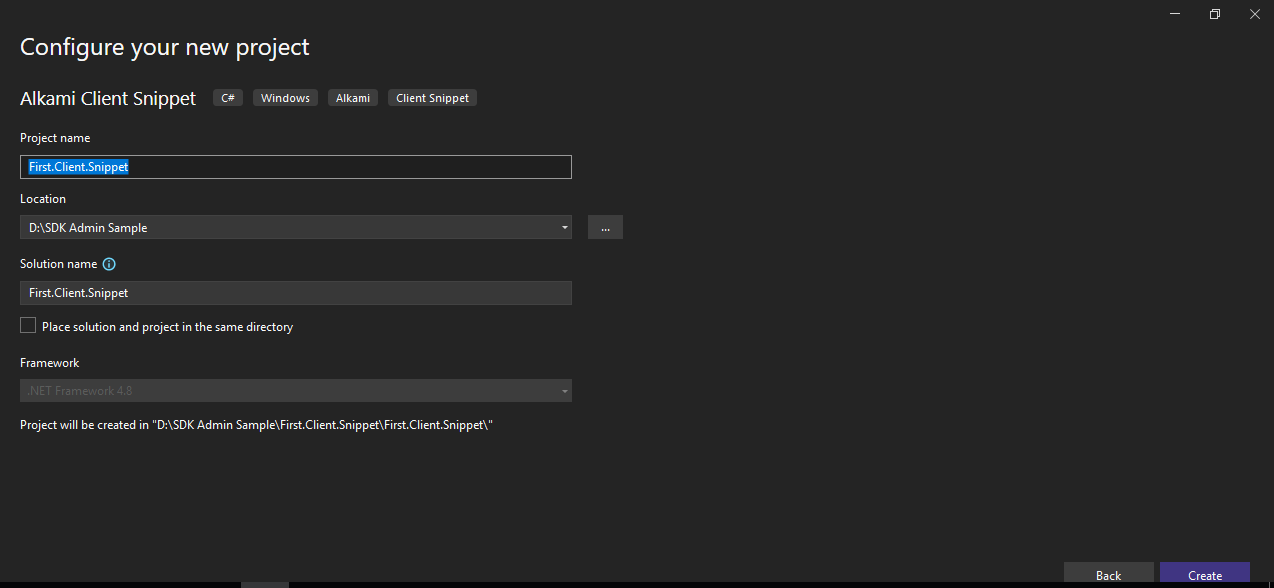
In Visual Studio, go to the Alkami Snippet template and replace the Alkami prefix with a descriptive name and the portion following Snippet.*.
-
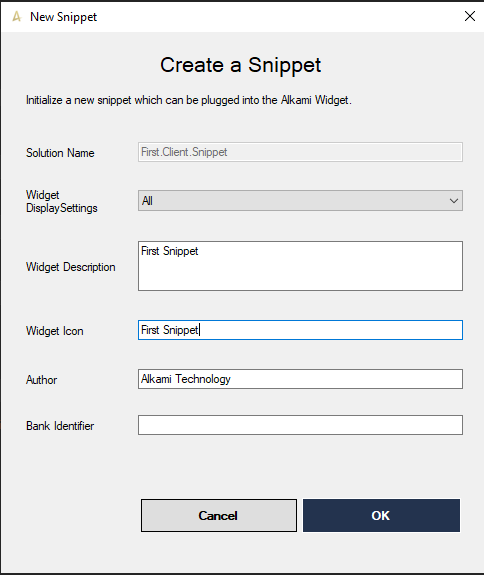
Create the project.
-
New Snippet screen
-
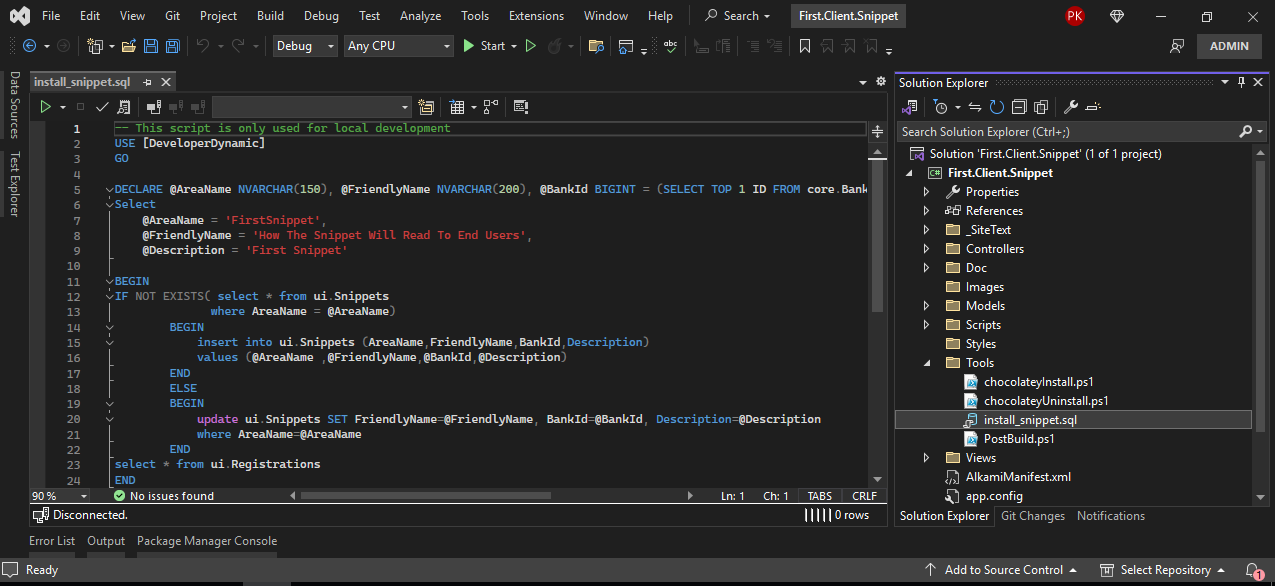
Go back to the solution explorer and open Tools > install_snippet.sql.
-
Use the play icon to run the script. This creates the database tables your snippet needs to function.
-
Delete
PostBuild.ps1file from Tools > PostBuild.ps1. -
Build the project. In the output window you can see that the snippet is deployed to the webclient.
-
To attach your snippet to a widget, go to the admin site and log in.
-
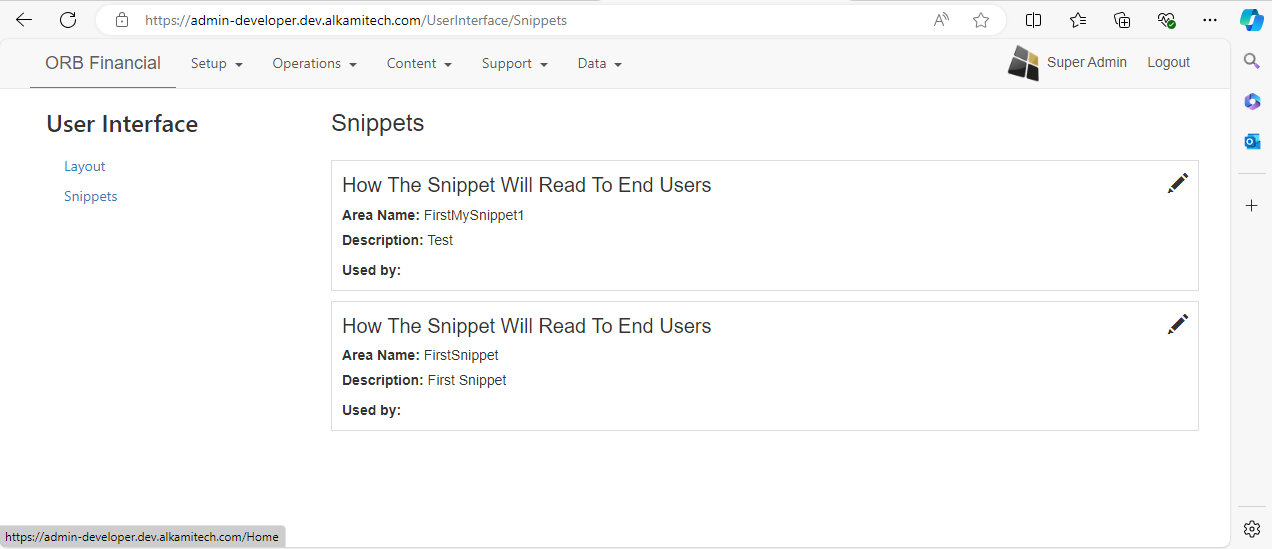
Go to the Setup tab and click UserInterface Settings.
-
Find your snippet in the Snippets section and click the pen to attach it to a widget.
-
Go to the Orb site and under the widget you can see a new tab with your newly created widget.